Have you ever tried to do something, I mean anything, and failed. You really tried everything to make it work, read documents, watched a youtube video, and then called the friend that told you about it in the first place. All of this to no avail. Hold on, you mean calling the friend that told you about it was no help?! Yep, that is right. They were no help especially when they said that magical phrase that we all know so well, "It worked for me".
Well, that is where the beauty of Docker comes into play. Docker is what we call portable; meaning that it works the same no matter where you run it. This is because of how containers are built. Well, I should say how the images for containers are built.
Before I go any further, I will tell you that I learned much of what I am putting in this post from this blog (
https://www.opensourceforu.com/2016/07/many-approaches-sandboxing-linux/).
So how does the building of an image make a container portable? Well, the image is where all of the base files live. The article I posted above, goes into great detail about how to capture the minimum files needed for executing a single command. At this point, I need you to think of your computer as just a machine that only executes commands. Opening your web browser, saving a file, changing your password, all of these are just commands to your computer. So if you know what commands are needed to run an application, you can make an image containing just those files. Then every time a container is created from that image, it will have only what it needs to work on any piece of hardware. Unlike virtual machines, which require specific virtualized hardware that may or may not be supported by your host machine's hardware.
So now that I have explained the biggest benefit of using container technology, let's get into a walk-through of installing Docker and running your first container.
Installing Docker
I will not walk through every step of installing Docker because I'm too lazy to re-write the instructions provided by Docker and Microsoft. Plus, their instructions are really accurate and pretty to look at.
Docker Installation Instructions
For Windows users, follow these steps if you are having problems installing WSL version 2 2: https://docs.microsoft.com/en-us/windows/wsl/install-manual
What Comes Next? Downloading your first image is what comes next.
This part we will do together. Visit the Docker Hub page and sign-up for an account: https://hub.docker.com/. Be sure to remember your password because you will have to sign in to Docker Hub through the Docker Desktop application installed by completing the instructions above.
Note: Docker Hub is a community-sourced registry. You can alternatively create your own registry filled with images you trust to not be malicious.
For Windows or Mac Desktop
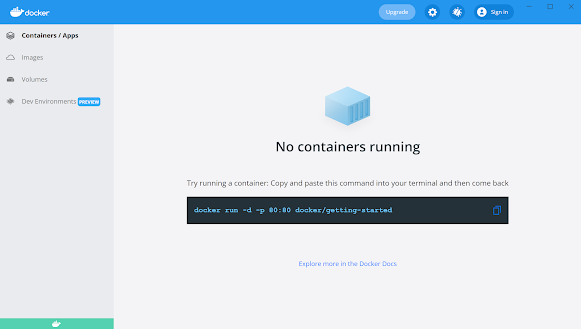
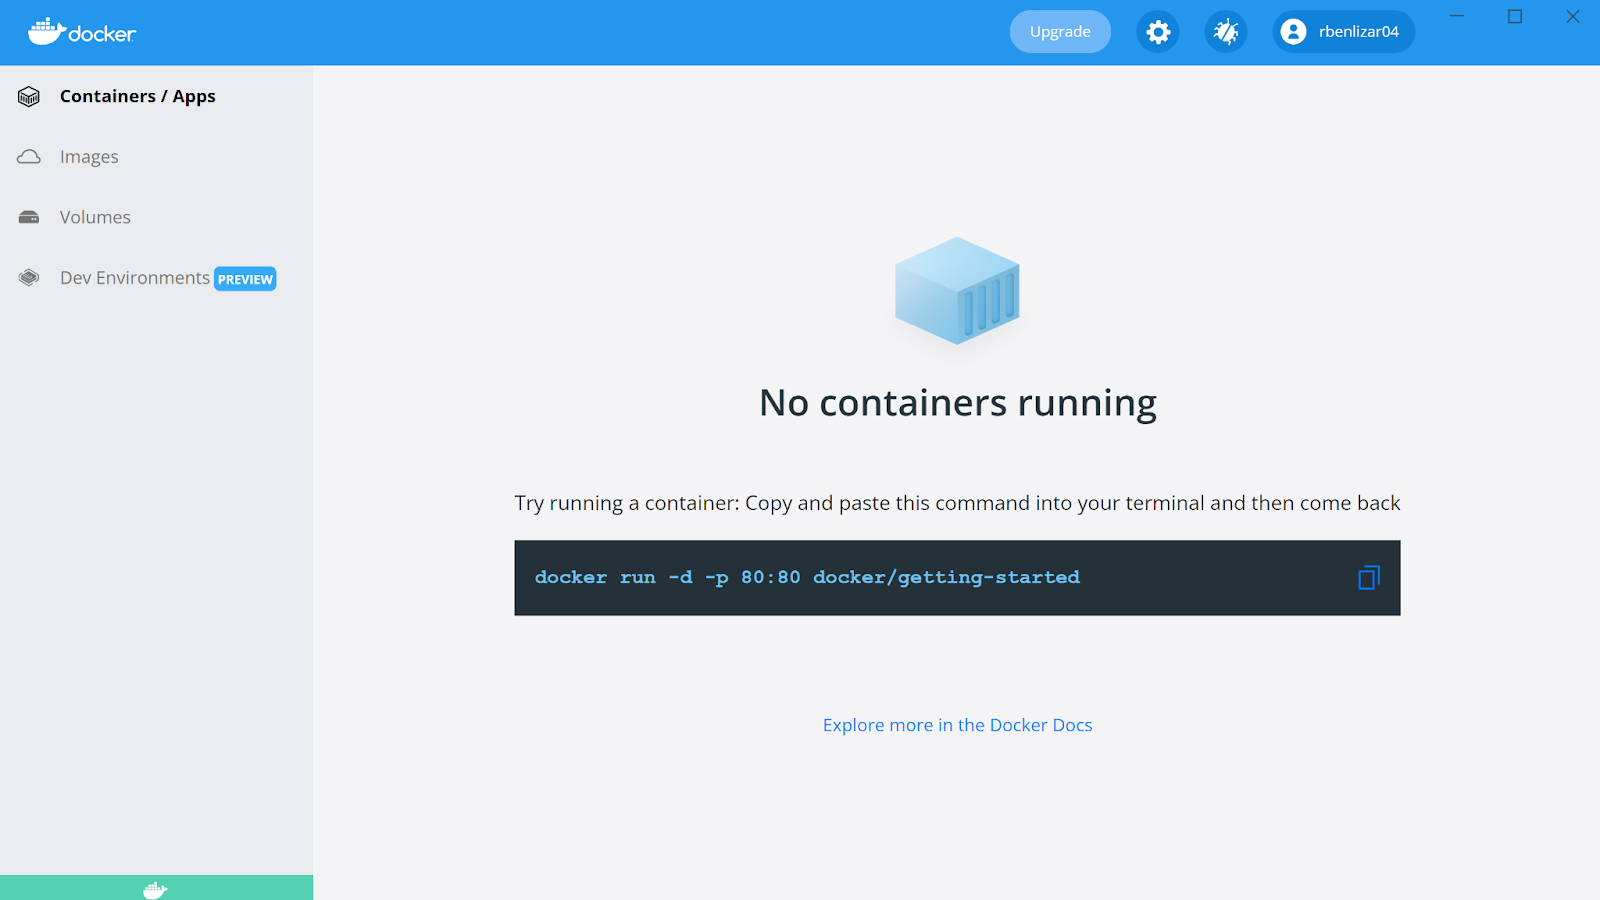
Once you have your Docker Hub account, you are now ready to download your first docker image. Open your Docker Desktop.
Click on the "Sign-in" button and provide your credentials created on Docker Hub.


For Linux, Windows, or Mac CLI:
Start by adding your username to the docker group so that you are not required to run docker commands as root.
Now you are able to run the command "docker" without elevated rights. Next, you will log in to Docker Hub so that you are able to pull an image.
 |
| Enter your credential, and keep in mind that your password will not be visible as you type it into your screen. |
If everything goes well, you will receive the message "Login Succeeded"
Ok so, you now have Docker installed along with having signed into the Docker Hub for image retrieval. Our next step will be to find the image you really want. Travel on over to the Docker Hub website (
https://hub.docker.com/) and log in, if not already so.
Note: Images can be searched with a command-line interface (CLI) application such as CMD, Powershell, or terminal. The docker command to execute an image search is limited when it comes to obtaining the tag of each image. We will discuss what a docker tag is soon.
Let's go with the first one listed because it has recently been updated and is an official build. Click on the block for the CentOS image to obtain instructions for downloading it.
Note: Downloading the image is known as a "pull"
You will notice to the right of the screen a docker pull command "docker pull centos". This command format is ok for most images, but there is a catch with it. See in the world of computers there are often things called versions. As an application or software is improved ("improved" is used very loosely here), the producers often change the version numbers to signal something has changed. There is no difference with container images. We call these image versions, "tags". So the catch that I mentioned earlier is that if we use the docker command currently shown, "docker pull centos", we are not controlling which tag we will use. Always remember newer is not better.
Note: If no tag is given, "latest" will be the default tag for the pull.
So how do we find the tag we really want? There are some really technical solutions if you want to use a little bit of scripting (
check out these scripts), but it is much faster and more detailed using the web interface.
Click on the tab labeled "Tags"
Notice that there is a 7.9.2009 tag. I am most familiar with the CentOS 7 distro, so let's go with that one. Find the pull command to the right of its box. Now open your CLI application of choice. Paste the command into the CLI and watch the magic happen.
Note: If you get an error here, make sure that you are logged in. If on Linux, make sure that you have added yourself to the docker group and that you are logged in.
To view all of your images:
For Windows or Mac Desktop:
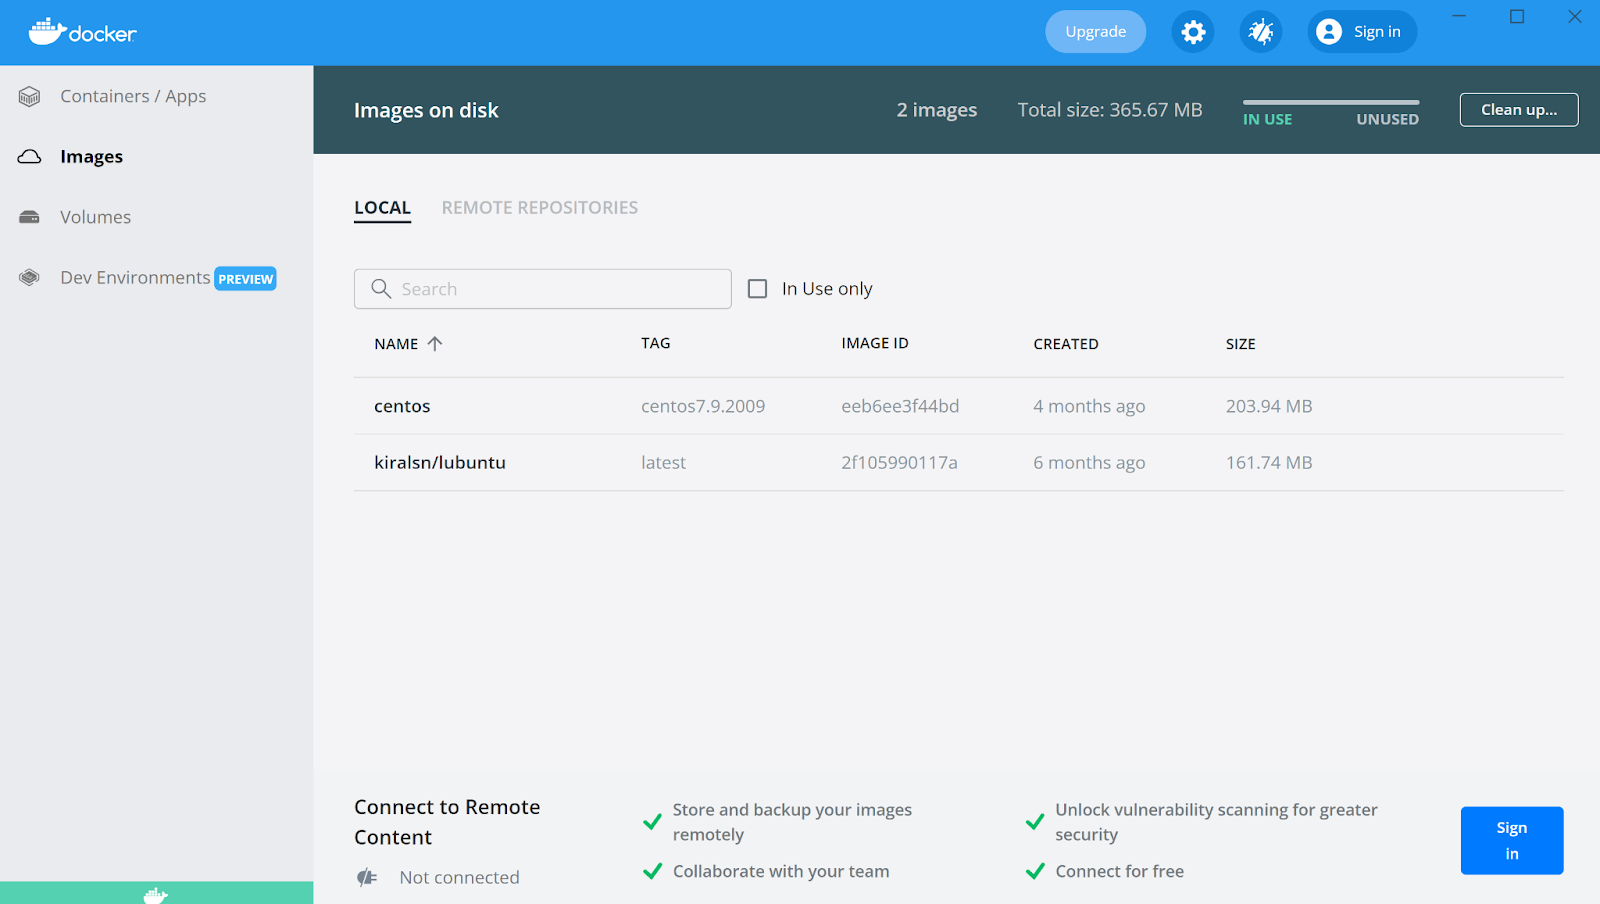
Open or Navigate back to your Docker for Desktop and click on the "Images" tab on the left margin.
For Linux, Windows, or Mac CLI:
Run the docker command "docker images"
Now the final step is to create the container itself. This is where the fun happens. Docker's container engine makes working with containers easier and faster than the old way of sandboxing. Docker allows us to make multiple containers, each with a unique purpose, from one image. For instance, say you are interested in running your own blog. For whatever reason, you want the blog to show different images depending on the port in which a user accesses your blog. You could use a custom WordPress image and run them with two different image folders, published with different ports. This may not be practical or the best solution, but when you understand your way around technology, you rule your own world.
Ok, ok, on with running the container.
For Windows or Mac Desktop:
From the "images" tab, click the button labeled "Run" beside the centos image.
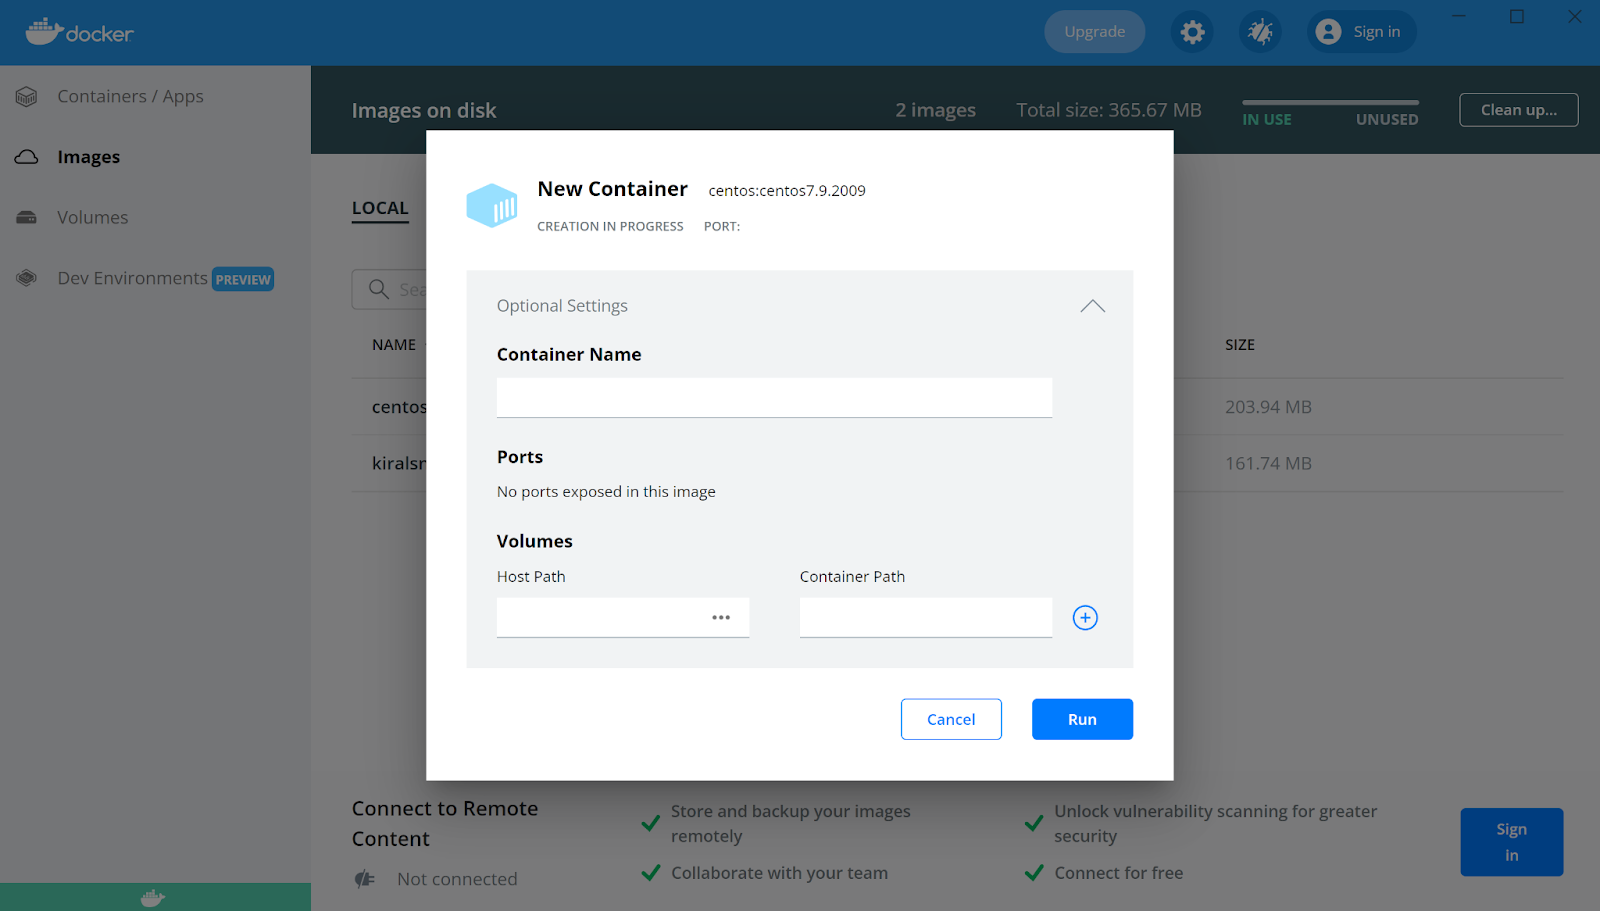
If you would like to customize the container that will be created, select the dropdown labeled "Optional Settings".
The optional settings allow you to give the container a unique name for referencing later, set any ports, or mount any of your host machine folders to the container. Click "Run" and that is it. You are now running your very first container.
For Linux, Windows, or Mac CLI:
Open or go to your CLI. run the docker command to retrieve your image listing "docker images".
When using the CLI you will notice that each image has a known name (Repository) and an Image ID. For ultimate security, always create your containers using the Image ID because it is unique. There are some malicious actors that will create images with the same names of trusted images you may have created yourself. To be sure you trust the new container, create them using an Image ID that you know and trust.
Copy the Image ID for centos7.9.2009. Run the next docker command as follows:
To just create a basic container :
Then run the docker command: "docker container create --name <name you want to give the container> -t -i <Image ID>"
You will receive a very long hash as confirmation, which is actually the container's ID that is used by the Docker engine to interact with the container.
Let's list out the containers that are available to be run. Execute the docker command: "docker container ls --all"
Notice that there are two contained with a status of "created". Both of these containers have the same Image ID. To run the container named "centos", execute this docker command: "docker container start <container name>"
Once you have started the container, it will be running in the background. Check that it is running by using the docker command you learn earlier: "docker container ls --all". In my case, this container has been running for 3 hours
So how do you access your containers?
For Windows or Mac Desktop:
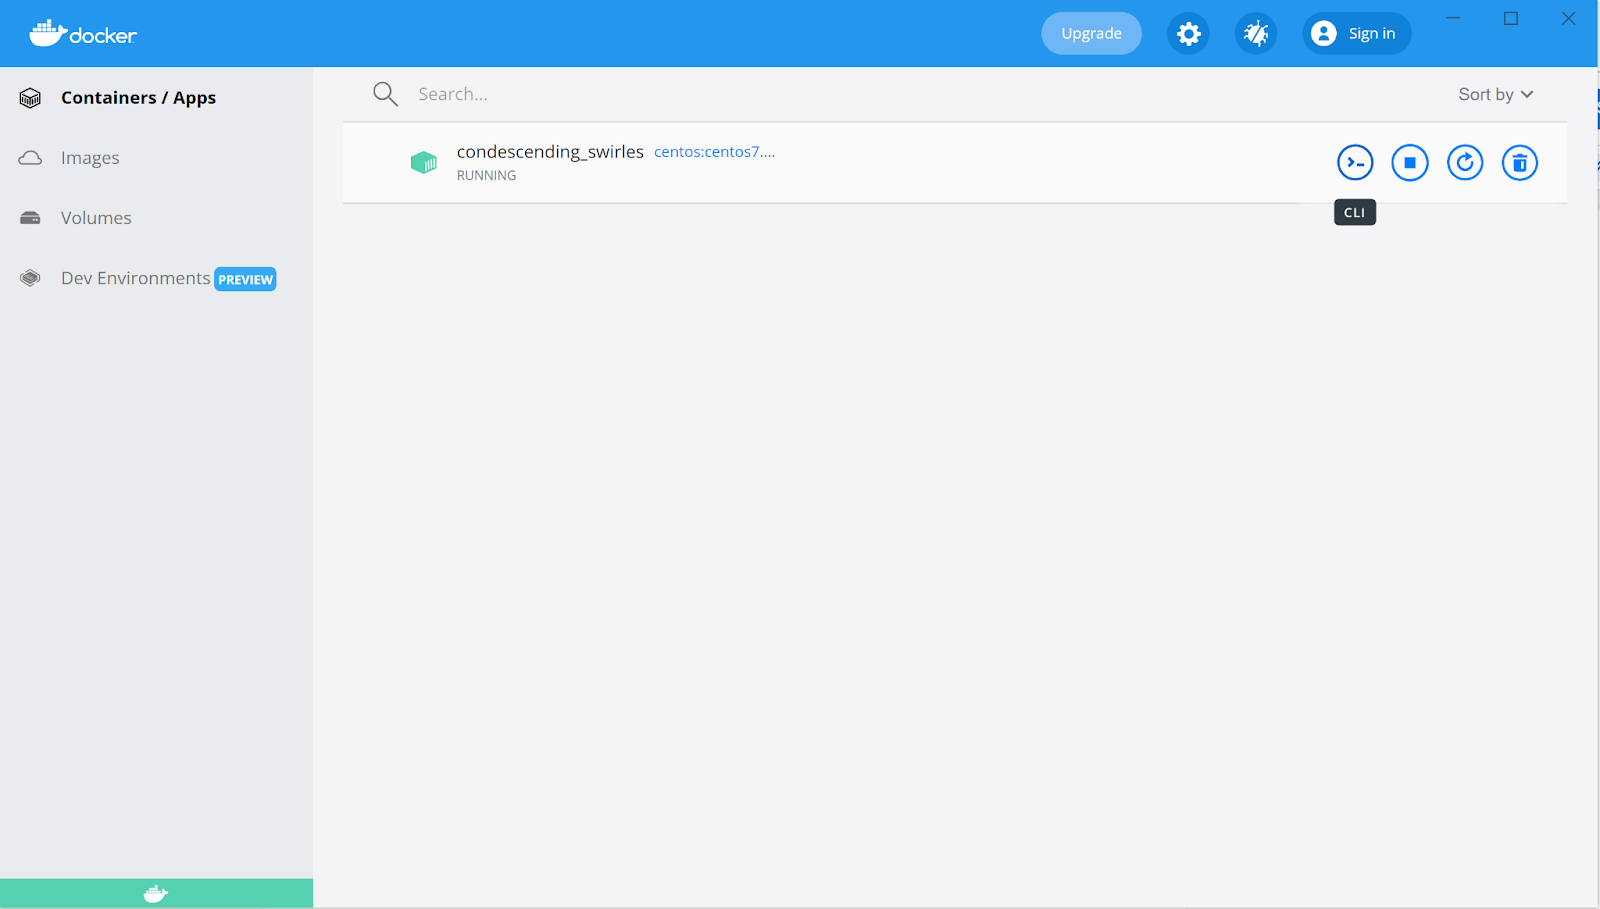
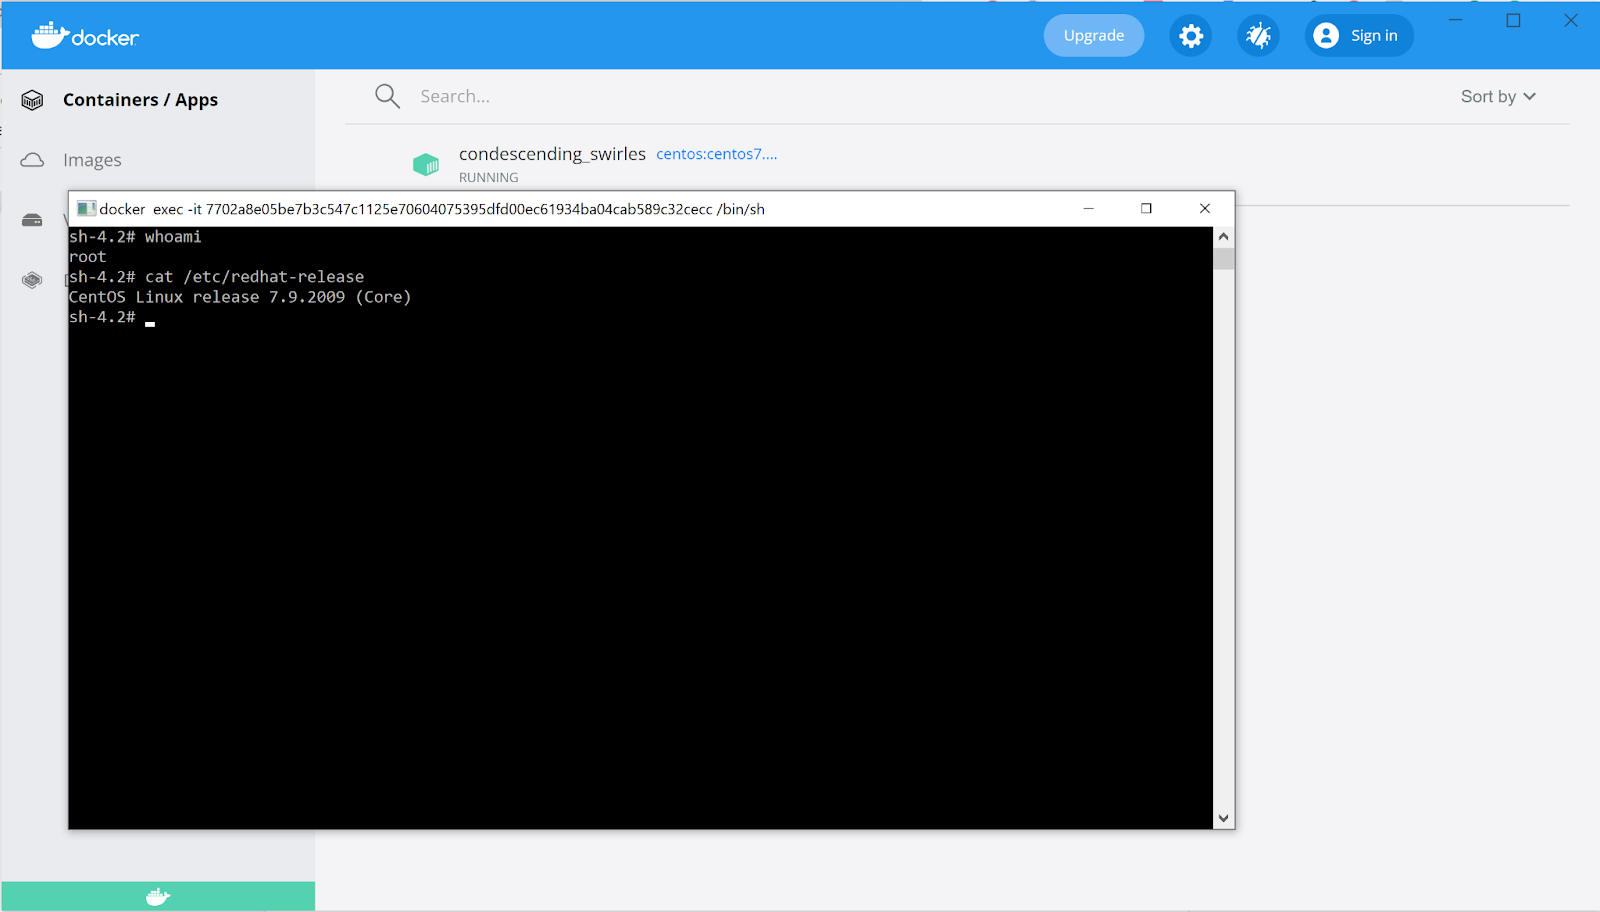
From the Docker Desktop, click on the tab "Containers / Apps". Hover over the running containers you will see a button with a "greater than" sign and "underscore" inside of it. This is the CLI button. Click it, and you will be given a terminal window for the container.
For Linux, Windows, or Mac CLI:
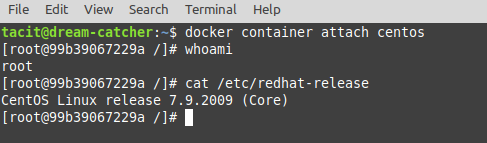
From the CLI of your preference, issue the following command to attach your CLI to the running container: "docker container attach <name or ID of the container>"
Note: When exiting the container be sure to quickly press CTRL+P followed by CTRL +D or the container will stop on exit.
Well, that is all to write about installing Docker and running your first container. I hope you all now feel comfortable enough with virtualization to follow our future exploration of technologies.
The Corporate Spin
At the end of each post, I like to leave you with questions and answers I have found to be most important
How do we secure our container infrastructure?
- Do not use the public registry, create a private registry to house all images
- Monitor for the execution of docker commands using the root account.
- Limit and monitor for the use of the "--privileged" parameter
- Always provide a tag for each image
- Only create or run containers using the unique image identifier
- Build end-point security into each image
How do we build resiliency into our container infrastructure?
- Leverage a container orchestrator such as Openshift, Kubernetes, docker swarm, or OKD
- Back all attached volumes on a regular schedule


Comments
Post a Comment